
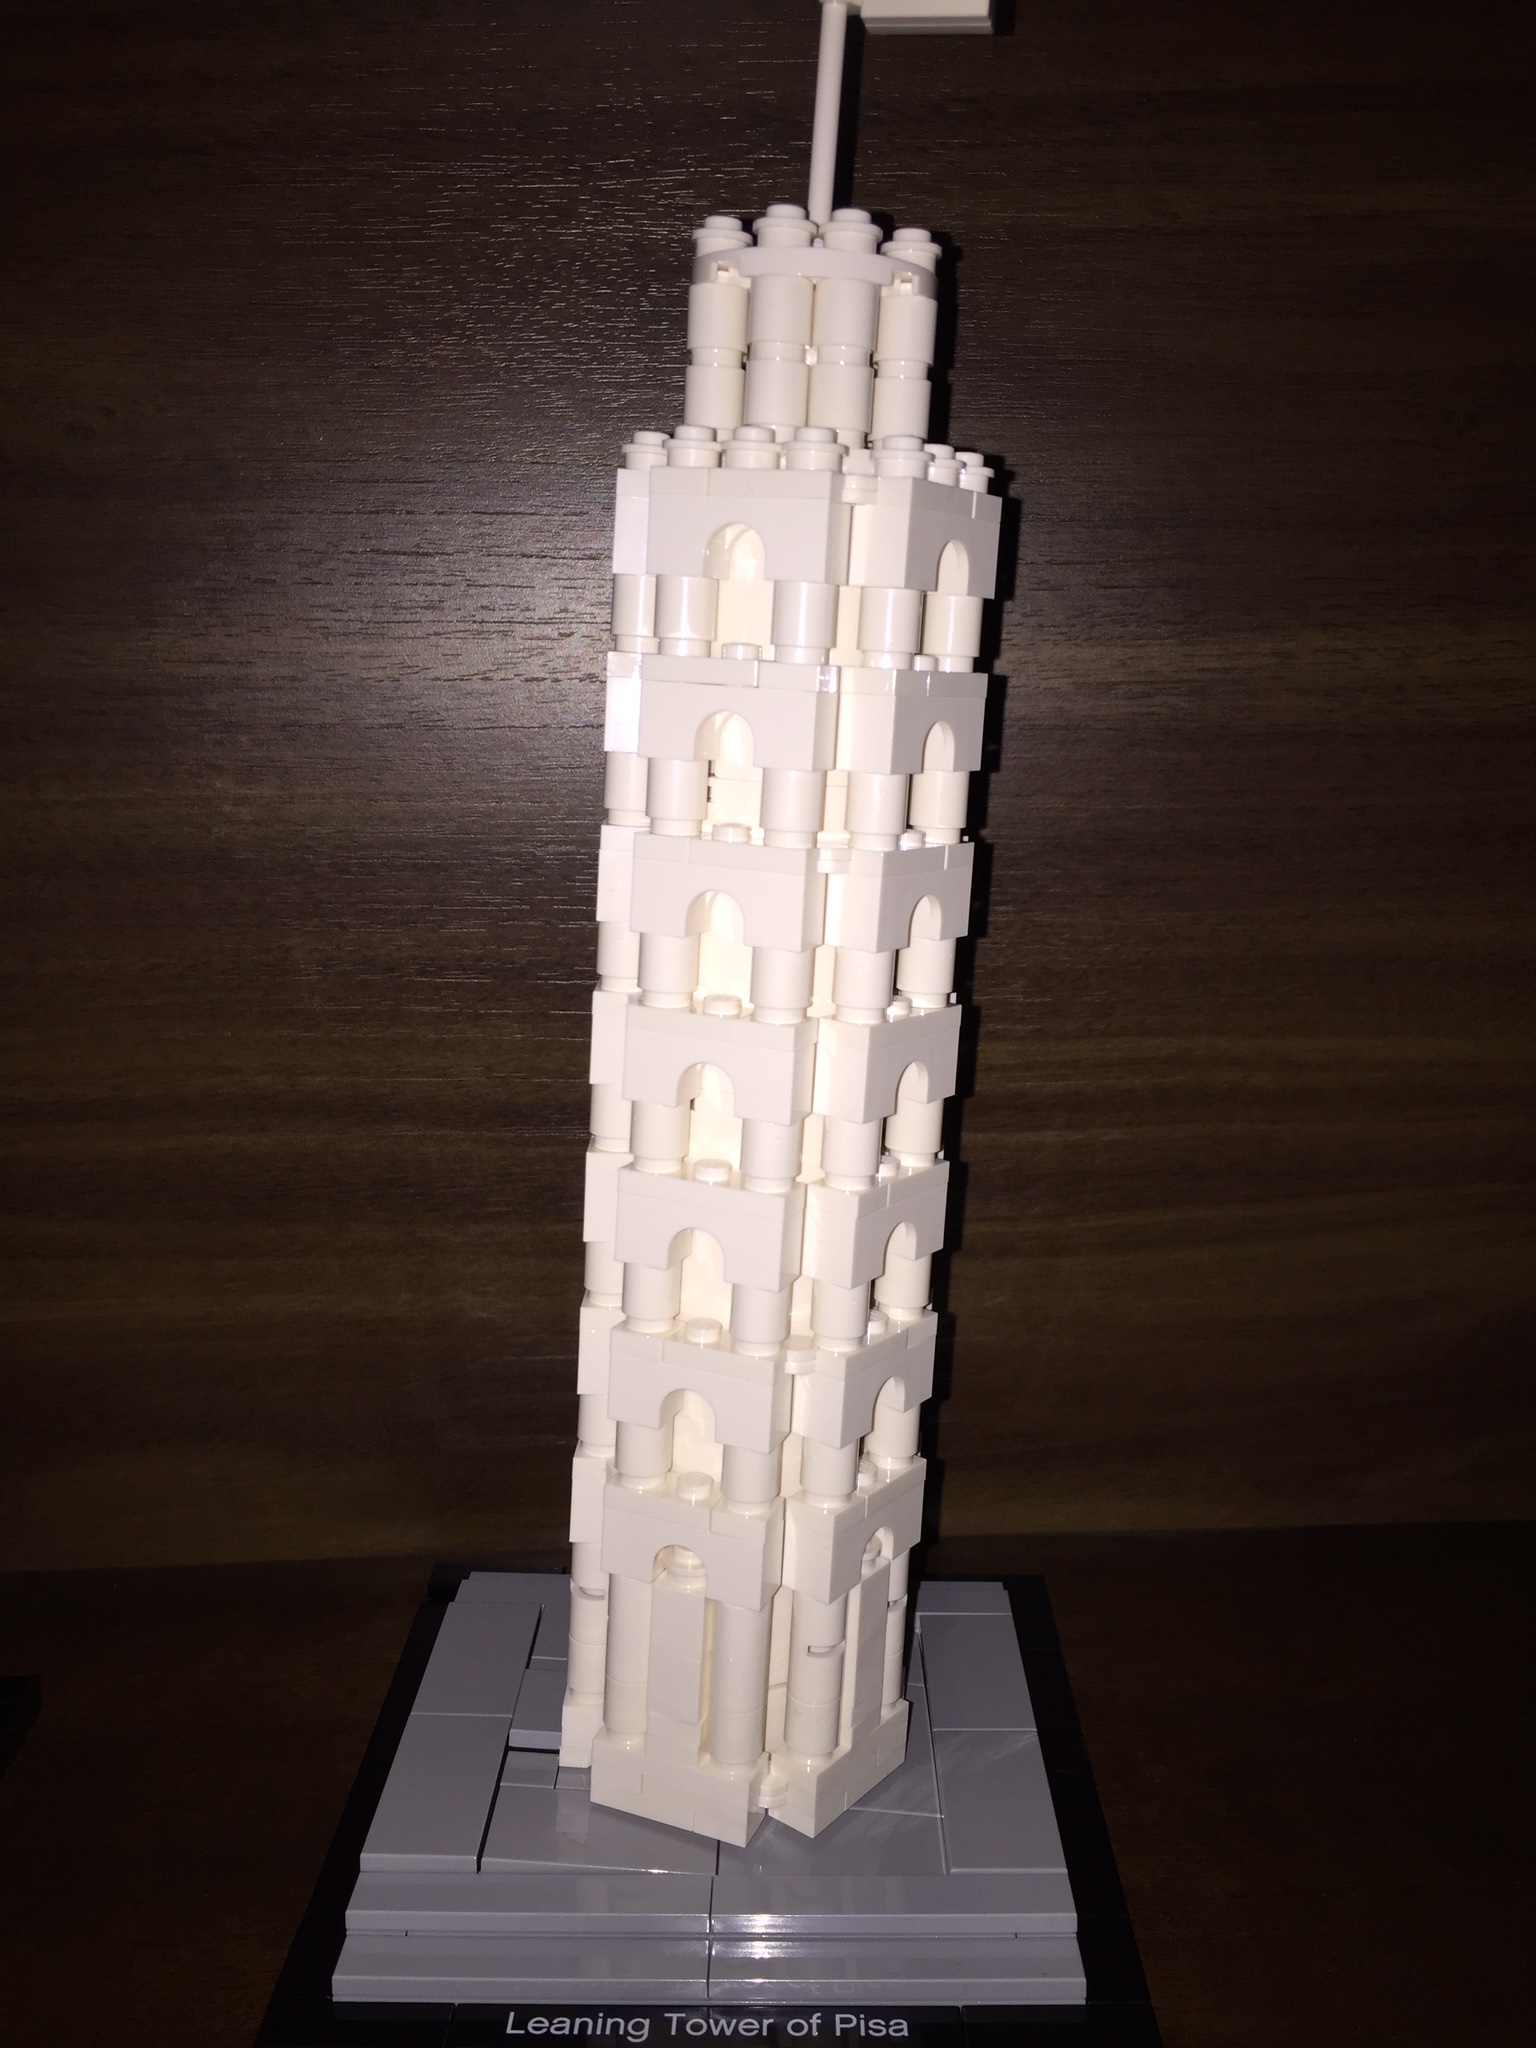
The Leaning Tower of Pisa is my second foray into the world of Lego Architecture, purchased at the same time as my first architecture set on The Big Ben.
Key Statistics
Official Page: Lego Store
Brick Instructions: Link
Pieces: 345, 40 unique parts & 1 rare
Mini Figures: N/A
Age group: 12+
Date assembled: 15 February 2015
Assembly duration: 1 hour
Main steps: 65
Total steps (includes repetitions & sub-components): 137
Selection & Theme
Whilst purchasing the Big Ben architecture set, I decided to also pick this set – The Leaning Tower of Pisa. Partly, having been to this landmark during my Europe 2009 trip, I found it irresistible to pass up the opportunity. Interestingly, when you compare the facts below to the Big Ben, it is supposed to be half the height of the Big Ben, whereas the Lego model scaling results in it being 20% taller… This scaling and dimensioning is also apparent in the way the Big Ben architecture and walls are simplified. I guess, if the Big Ben were to have been modelled at the same scale as The Leaning Tower, it would probably be a large set with 2000+ pieces… one can only dream and hope for such things!
Location: Pisa, Italy
Architects: Various
Style: Romanesque tower/gothic bell chamber
Construction type: Bell tower
Materials: Limestone, lime mortar & marble exterior
Date: 1173 – 1399
Height: 8 storeys, 56.4 metres (185 feet)
Build
The first three steps see the first foundational layer added to the square Lego plate which serves as the base. A square middle section remains unfilled whilst one side/edge has the middle slots positioned, ready for the next steps. In step 4, the key pattern which will set the dimensioning of one flat wall is laid out – three brick slots wide. The use of hinge plate with swivel top is one of the most important pieces that will join the various walls together. In step 6, we plug the middle tower base with the brick round 4×4 (part #87081). In step #7, the next wall is adjoined to the front wall. In Step #8, a five-part sequence defines another three wall segments, linked to the right-side of the foundational centre wall. Step #9 indicates how the walls all swing around the centre base and in Step #10, we snap it all together as the first layer of wall bricks. In Step #12, we connect the front wall to the centre base with the 2×2 brick with pin and axle hole. Steps #14 and #15 see the first complete central core assembled. Steps #16 through #18 define the first support square pillars, whilst Step #19 adds the complementary round pillars. Step #20 adds the three-brick arch (part #4490) which gives the whole tower its first bottom layer of pillars and arches. In Step #24 we add the hollow half-cylinders to bring the tower core up to a similar height with the exterior walls.
A series of repeated sequences follow through to Step #34 where the second set of hollow half cylinders are added, surrounded by two sets of low arches which are stacked to form the second layer of pillars and arches. By Step #44, we have been through this same cycle to now have a third storey added on; the storey definition represented by each set of hollow half cylinders. At Step #54, the pattern of single-brick height arches has levelled off with the fourth set of cylinders; a total of six arches rest atop the first arch which is of greater height than all the rest. The final steps then see the top summit of the tower assembled, with a flag pole added and a single flat brick to the base acting as an entry step.
The tilt of the tower is achieved by a three-part sequence which is attached underneath the square base at the front side, thereby raising that side of the tower. Over a final set of 12 steps, the outer base is constructed, such that the front part of the tower with the additional tilt mechanism slots nicely into the outer base. Steps #62 through #65 help to hide the tilt mechanism and finish off the base with flat plates that lead to the front step/entrance of the tower.
Statistical Analysis
The continuous repeating of arches meant that the number of reused parts was again a common feature of this architecture set. The use of sub-component/steps featured mainly at the start and end of the assembly instructions and was particularly prevalent in the repeated assembly of pillars throughout the tower design.
The additional 72 steps only increased the total steps by slightly over 100% whereas this metric has proven to be much higher for all other large sets. In comparison, the assembly of the Leaning Tower of Pisa is a straightforward linear sequence which the target age group (12+) should find quite manageable.
You must be logged in to post a comment.